Almost every illustrator who improves steadily over years has some version of the same habit: they draw a little, often, in a place where nothing has to be good. For most of us that place is a sketchbook. It is not a portfolio, a gallery or a social media feed. It is a lab notebook — the place where you test ideas, train your eye and make the hundreds of bad drawings that come before the good ones.
The difficulty is not knowing that sketching helps. It is doing it every day when you are tired, busy or convinced your last page was terrible. This guide sets out a practical routine that takes fifteen minutes, the tools and paper that make it easier, thirty prompts to remove the “what do I draw?” problem, and a simple way to review progress so the habit keeps paying you back.
Key takeaways
- Consistency beats duration: fifteen focused minutes every day builds more skill than a three-hour session every two weeks.
- Choose a sketchbook you are not afraid to ruin — mid-weight paper (100–150 gsm) in A5 or B5 suits most daily drawing.
- Structure each session: warm-up, gesture, observation, then a short note.
- Use prompts to remove decision fatigue, and a simple tracker to keep the chain going.
- Review once a month to turn a pile of pages into specific, measurable improvement.
Why a sketchbook habit matters
Finished illustrations are slow. A commission or a personal piece might take days, which means you only get a few dozen chances a year to practice the full process. Sketching flips that ratio. In a single fifteen-minute session you might draw thirty gestures, three hands and a coffee cup — dozens of small decisions about proportion, line and shape, each one a rep.
A sketchbook habit does several jobs at once:
- It trains observation. Drawing from life forces you to look at how things actually are, rather than how you assume they are. That visual library is what you draw on when you work from imagination.
- It builds fluency. Confident lines come from mileage. Hesitant, hairy lines usually mean the hand has not drawn that shape enough times.
- It lowers the stakes. When a page is just a page, you take more risks — and risks are where new ideas come from.
- It creates a record. Flipping back six months is the most reliable proof you have that you are improving, especially on days when it does not feel like it.
- It feeds your real work. Many characters, compositions and color ideas in finished pieces start as thumbnails in a sketchbook corner.
Our own sketch archive is full of exactly this kind of loose, unfinished page — the scaffolding behind more polished work.
Choosing a sketchbook: paper weight and size
Paper weight is measured in grams per square meter (gsm). Heavier paper handles more water and ink without buckling or bleeding through, but it is more expensive per page — and expensive pages can make you hesitant to draw on them. Match the paper to the media you will actually use most days.
| Paper weight | Feel | Good for | Watch out for |
|---|---|---|---|
| 60–90 gsm | Thin, like copier paper | Pencil, ballpoint, fast gesture practice | Ink and markers bleed through; pages wrinkle |
| 100–130 gsm | Standard sketchbook | Graphite, fineliners, light marker, colored pencil | Heavy marker may ghost; water will cockle it |
| 150–200 gsm | Mixed-media weight | Markers, brush pens, light washes, gouache in moderation | Fewer pages per book; higher cost per page |
| 250–300 gsm | Watercolor weight | Watercolor, heavy washes, mixed media | Expensive; often textured; can feel “precious” |
For size, think about where you will draw:
- A6 (105 × 148 mm) or pocket size — fits a jacket pocket, ideal for drawing on transport or in cafés; small pages are also less intimidating.
- A5 (148 × 210 mm) — the most versatile daily size; big enough for studies, small enough to carry everywhere.
- B5 (176 × 250 mm) — a little more room for figure studies and thumbnails, still bag-friendly.
- A4 (210 × 297 mm) and larger — better for longer studies at a desk; less practical on the go.
Binding matters too. Lay-flat stitched bindings and spirals let you draw across the full spread; glued bindings can fight you near the gutter. If you are prone to perfectionism, start with an inexpensive book. A cheap sketchbook you fill is worth more than a beautiful one you are too nervous to open.
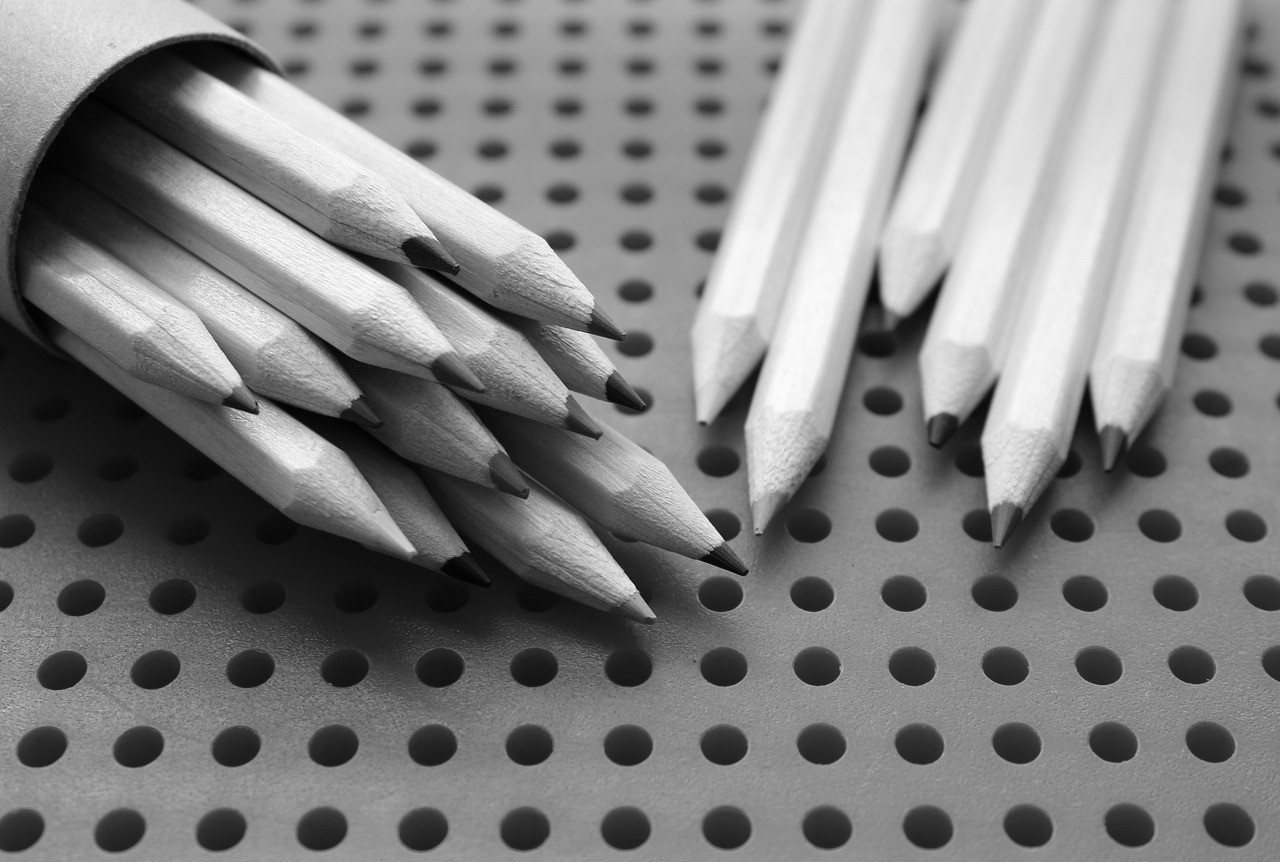
Pencils, pens and a minimal kit
The best daily kit is small enough that you never have an excuse to leave it at home. A practical starting set:
- A mechanical pencil, 0.5 mm, HB or B — consistent line, no sharpening; good for construction and detail.
- A 2B and a 4B wooden pencil — for gesture and quick tonal work; softer grades are more expressive but smudge more.
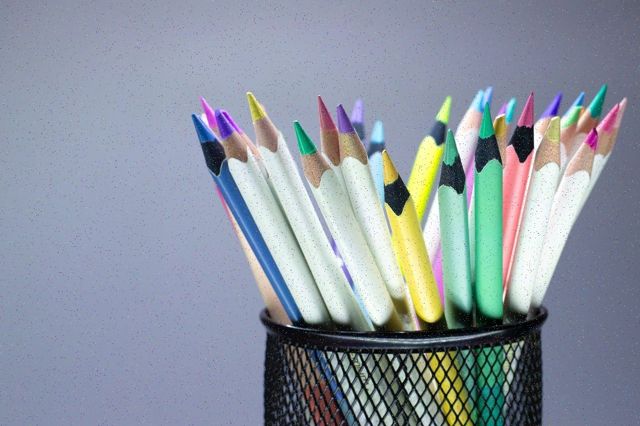
- A colored erasable pencil (light blue or red) — for loose construction lines you can draw over in graphite or ink.
- Fineliners in 0.1, 0.3 and 0.5 mm — for ink practice; pigment-based ink is lightfast and usually waterproof once dry.
- One brush pen — teaches line weight and confidence, because you cannot easily correct it.
- A ballpoint pen — underrated; builds tone gradually and can be surprisingly subtle.
- A kneaded eraser — lifts graphite without shredding the paper; use it sparingly.
A useful rule: for at least part of every week, sketch in pen. Without an eraser, you stop polishing a wrong line and start making better decisions about the next one.
The 15-minute daily routine
The routine below is designed to be short enough to do on your worst day and structured enough to make every minute count. Set a timer for each block; the time limits are part of the training.
| Block | Time | What to do | Why |
|---|---|---|---|
| 1. Warm-up | 2 min | Straight lines between two dots, ellipses, spirals, boxes in perspective | Loosens the shoulder and wrist; calibrates hand–eye control |
| 2. Gesture | 5 min | 10 poses × 30 seconds from photo references or people around you | Teaches movement, rhythm and the big shape before details |
| 3. Study | 6 min | One observational drawing: an object, a hand, a face, a corner of the room — or today’s prompt | Builds accuracy, form and your visual library |
| 4. Note | 2 min | Date the page, write one line on what worked or what to try next | Turns the session into feedback you can review later |
On days with more time, extend block 3 — not by skipping the others. If even fifteen minutes is impossible, do the minimum viable session: five minutes of gesture and a date on the page. It keeps the habit alive, which is the whole point.
Gesture and observational drills
Rotate these drills through block 2 and block 3 so you are not doing the same exercise every day:
- Timed gesture. Thirty-second poses force you to capture the line of action — the main curve running through the body — before anything else. Progress to one- and two-minute poses once the thirty-second ones feel less frantic.
- Contour drawing. Draw an object’s edges slowly, letting your eye and pencil move together. Aim for one continuous line.
- Blind contour. The same, but without looking at the page. The results look strange; the improvement in observation is real.
- Shape simplification. Reduce a complex object to three to five basic shapes before adding detail. This is the foundation of drawing from imagination.
- Value thumbnails. Draw a scene in small boxes using only three tones: light, middle and dark. These connect directly to composition and to color work, where value does most of the heavy lifting.
- Negative space. Draw the shapes between objects — the gap between a chair’s legs, the space between fingers. It bypasses your assumptions about what things look like.
- Repeat studies. Draw the same object three times in a row, faster each time. The third is usually the most confident.
30 sketchbook prompts for a month
Use one prompt per day for the study block. They move roughly from simple observation to more imaginative work, so following them in order gives the month a natural progression.
- Your favorite mug, from three different angles.
- Your non-drawing hand, relaxed on the table.
- A pair of shoes, one standing and one on its side.
- A houseplant or a single leaf, contour only.
- The view from the nearest window, in three values.
- Ten different eyes from photo references.
- Keys, scissors or another small metal object.
- A crumpled piece of paper — a classic study of planes and light.
- Someone sitting nearby (or a photo), five one-minute gestures.
- A piece of fruit, cut open.
- Your bag and everything inside it, spread out.
- Fabric folds: a shirt hanging on a chair.
- Twelve hands from reference, each doing something different.
- An animal in motion, from video paused at different frames.
- A corner of your kitchen in simple perspective.
- Faces at different ages: a child, an adult, an older person.
- A tree or a building outdoors, ten minutes on location.
- The same object lit from three directions with a desk lamp.
- Six character silhouettes, filled in solid black.
- Pick the best silhouette from yesterday and develop it into a character.
- Your character in three expressions: happy, angry, surprised.
- Your character’s outfit from front, side and back.
- A prop your character would carry, drawn as an object study.
- A room your character lives in, as a small thumbnail.
- A creature built from two real animals.
- A vehicle or machine that does not exist.
- Six composition thumbnails for one simple story moment.
- A self-portrait in a mirror, ten minutes, no erasing.
- Redraw one study from the first week of the month.
- A free page: draw whatever you most enjoyed this month.
Prompts 19 to 24 form a mini character-design sequence. If you enjoy it, our original character design page outlines how a professional design process expands those same steps.
Tracking progress without obsessing over it
A habit you measure is a habit you keep. Keep tracking simple:
- Date every page. It costs two seconds and turns the sketchbook into a timeline.
- Use a chain tracker. A calendar on the wall with a cross for each day you sketch. Aim to never miss two days in a row; one missed day is life, two is the start of a new (unwanted) habit.
- Count sessions, not hours. “24 sessions this month” is motivating; hour totals reward long sessions over consistent ones.
- Photograph the best page each week. Keep these in one album. Twelve weeks later, you will have a clear, side-by-side view of change.
- Log one goal per month. “Hands that do not look like bunches of sausages” is a perfectly valid, specific goal.
Dealing with perfectionism
Perfectionism is the most common reason sketchbook habits die. The page feels too clean, the first drawing goes wrong, and suddenly the book goes back on the shelf. Some practical counter-measures:
- Ruin the first page on purpose. Scribble on it, spill tea on it, write “practice” across it. The book is no longer precious.
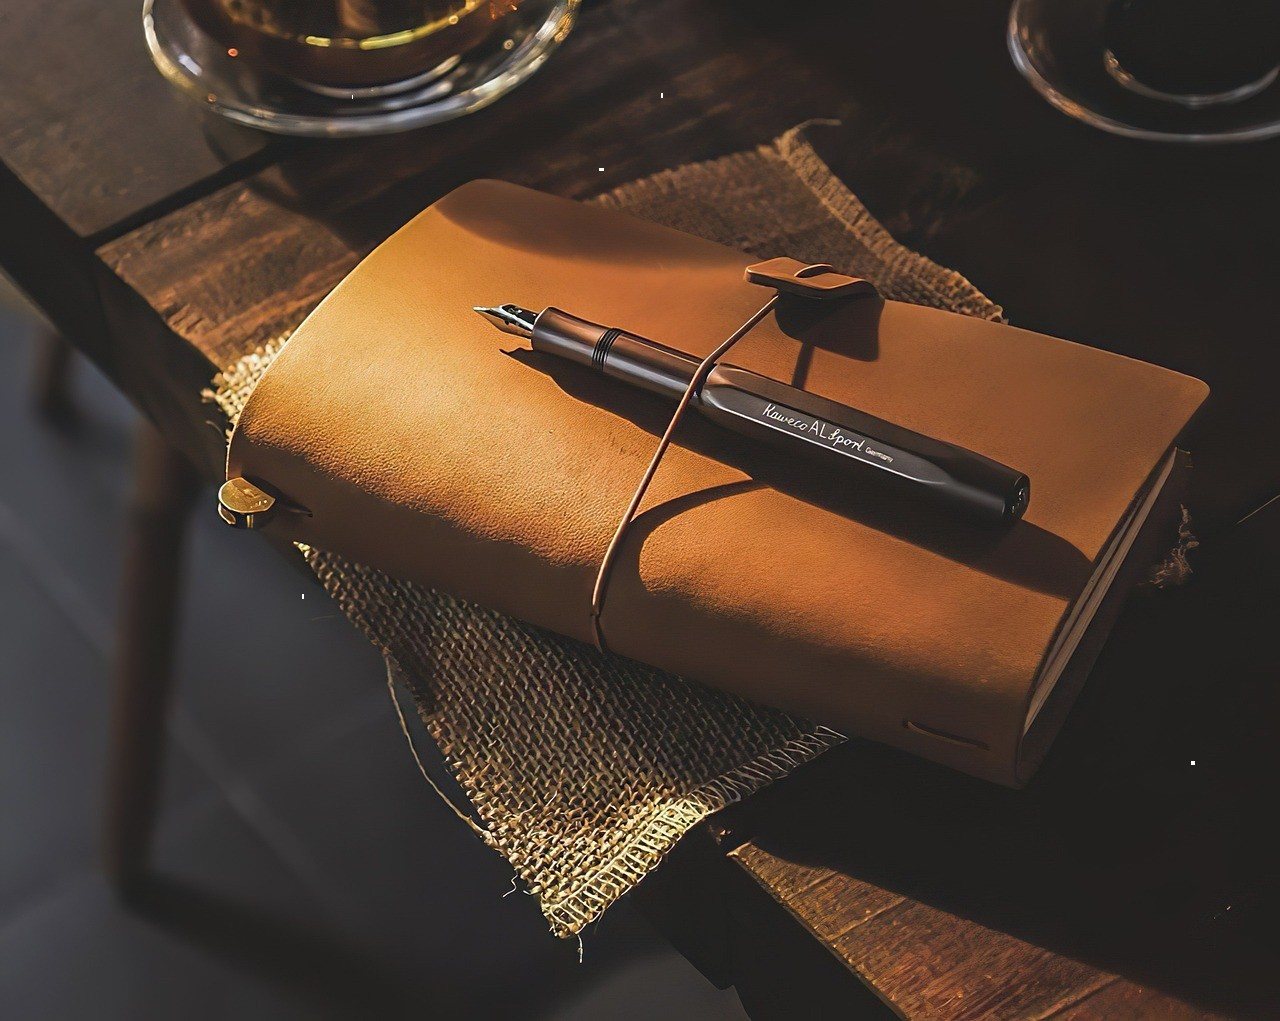
- Name it differently. Call it a study book or a lab notebook, not a sketchbook. The label changes what you expect from it.
- Draw in pen for a week. You cannot fuss over mistakes you cannot erase, so you move on and draw more.
- Keep a separate “nice” sketchbook. If you want a book to show people, have two: one for practice, one for curated work.
- Judge the habit, not the page. The goal of any single session is to have done it. Quality is measured over months.
- Do not post daily pages by default. Sharing can be motivating, but drawing for an audience pushes you back toward safe, polished work.
Digital sketchbooks
A tablet can be an excellent sketchbook, as long as you set it up to behave like one. Apps such as Procreate, Clip Studio Paint and the free, open-source Krita all work well. The risks are specific to digital: unlimited undo, infinite zoom and a pile of brushes can turn a five-minute sketch into an hour of fiddling.
To keep digital sketching honest:
- Use one large canvas per week or month and fill it like a physical page, rather than starting a new file for every drawing.
- Limit yourself to one or two brushes — a pencil and an ink brush are plenty.
- Restrict undo. Set yourself a rule of no undo during gesture practice.
- Stay zoomed out for gestures and studies, so you are drawing from the shoulder and seeing the whole.
- Export a weekly page into a dated folder so you can review it just like a physical book.
If you are moving between paper sketches and finished digital pieces, our digital illustration workflow guide covers how sketches carry through into final artwork.
Reviewing your sketchbook every month
The review is what turns practice into progress. Once a month, spend twenty minutes flipping through the pages with a notepad and answer these questions:
- How many sessions did I complete? Compare with last month.
- Which three pages are the strongest? What do they have in common — subject, tool, time of day?
- Which subjects did I avoid? Most of us dodge hands, feet, cars or perspective. Those are next month’s targets.
- What recurring mistakes do I see? Heads too large, stiff poses, flat lighting — name one specifically.
- Did my one-line notes show a pattern? Repeated frustrations point to a skill worth studying properly.
- What is next month’s single goal? Write it on the first page of the next month.
Then compare one study from this month with one from three months ago, on the same subject if possible. The difference is often bigger than you expect — and it is the best motivation there is for picking up the pencil again tomorrow.
Frequently asked questions
How long should I sketch every day?
Fifteen focused minutes is enough to build real skill if you do it consistently. On busy days, a five-minute gesture session still keeps the habit alive.
What paper weight is best for a daily sketchbook?
For pencil and fineliner, 100–130 gsm is ideal. If you use markers or light washes, choose 150–200 gsm; for watercolor, look for 250–300 gsm.
Should I erase mistakes in my sketchbook?
Sparingly. Leaving mistakes visible shows you what to fix next time, and sketching in pen for part of the week trains you to commit to lines and move on.
Is a digital sketchbook as good as paper?
It can be, provided you limit brushes, restrict undo and keep dated weekly pages to review. The habit and the review matter more than the medium.